How to Set Up Google Analytics for WordPress in 6 Easy Steps
The second a website goes live, it should never be without an analytics-tracking tool to calculate the number of visitors coming into your site as well as to assess their behavior.
Whether your WordPress website is brand new or you simply haven’t taken the time yet to hop on the Google Analytics train, let’s work on getting that set up for you today.
A Step-by-Step Guide to Setting Up Google Analytics in WordPress
Google Analytics is the standard-bearer of analytics tools. Granted, there are other ways you can go about assessing your WordPress site’s performance, but things like A/B testing are usually more advanced and targeted in what they track. You should always start with Google.
Before I jump into this guide to setting up Google Analytics in WordPress, I want to briefly touch on the benefits of it. For starters, there’s a lot you can learn from analytics:
- Who your visitors are (where they live, which devices they viewed your site from, etc.)
- What they do on your site (which pages are the most popular, how long they spend on your site, etc.)
- What inspires them to take action and convert (pages, topics, calls-to-action, etc.)
While it’s nice to see that you had 400 visitors today, that’s kind of an arbitrary number. Google Analytics helps you establish goals for your site in relation to what a normal day’s worth of traffic is and what you need in order to generate a profit. You can create goals and make comparisons between different data sets in Google Analytics, it all just depends on what you’re hoping to achieve with your website.
It’s also important to note that Google Analytics is a tool for everyone: the blogger, the small startup owner, the medium-sized marketing agency, the huge global conglomerate. Everyone needs to know what’s happening with the traffic on their site.
If you’re ready to see what exactly that is—and bring it all conveniently into WordPress, too—let’s discuss setup.
Step 1
Go to the Google Analytics website. Sign up for an account.
In order to see any data in your Analytics account, you’ll need to connect it to your website. There are two ways to do this. Today, I’m going to show you how to connect Google Analytics to WordPress with a plugin so that data will start importing into the analytics tool and so the data will show up on your WordPress dashboard.
Step 2
Log into your WordPress admin.

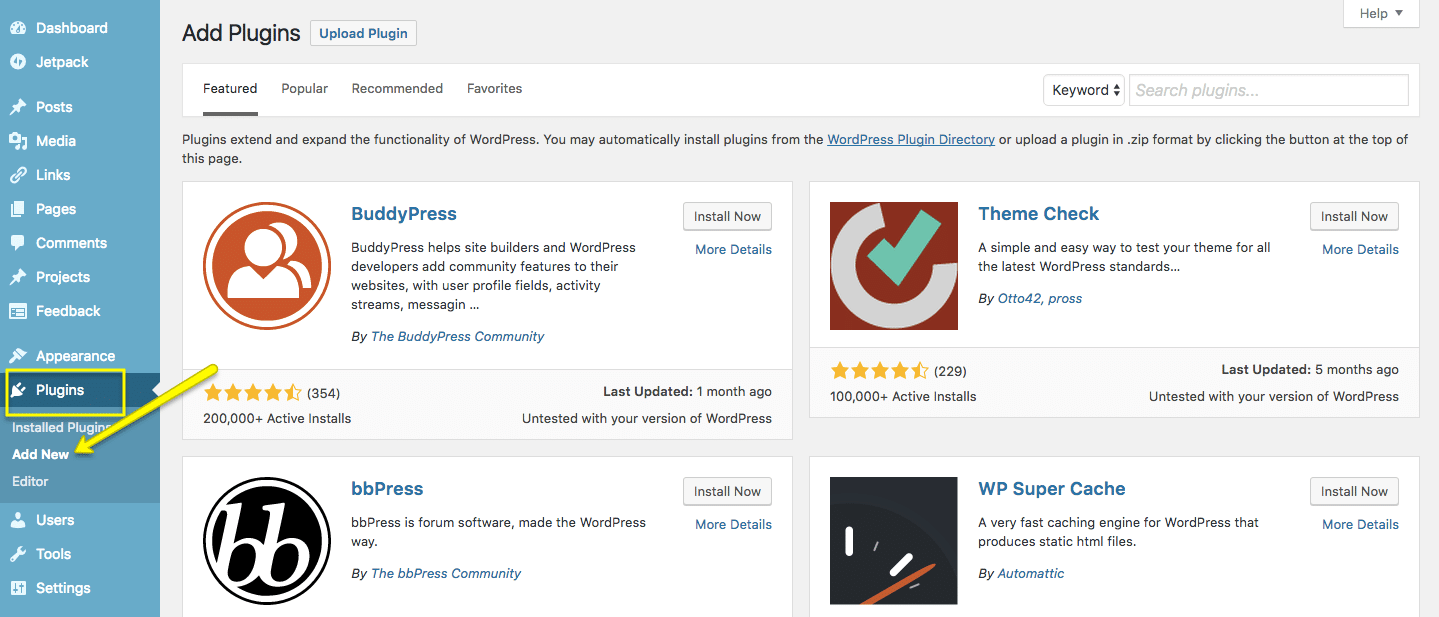
Step 3
Once inside, navigate down to Plugins and click on Add New.
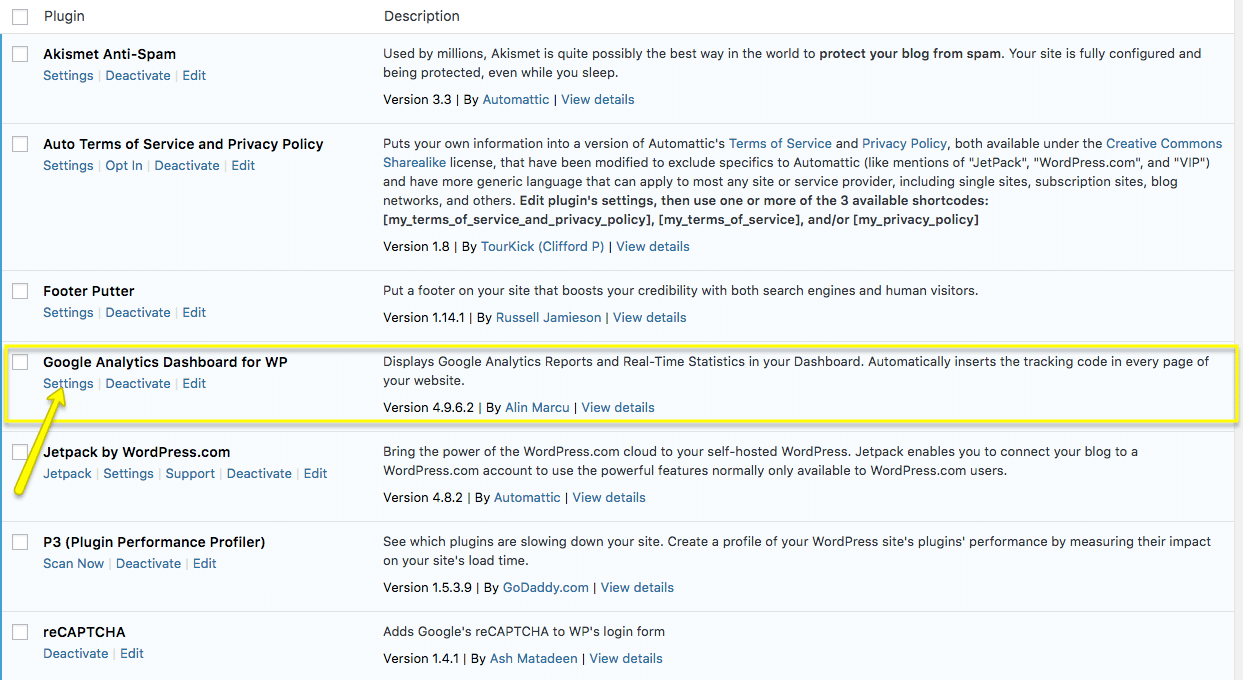
Step 4
For the purposes of this tutorial, let’s use the Google Analytics Dashboard for WP plugin. It will help you add your Google Analytics tracking code to all the pages of your website (without having to do any coding in the backend of your site). It will then import your analytics directly into the WordPress dashboard.
Once you’ve found the plugin, click on Install Now. When installation is complete, click on the button that says Activate.
Step 5
This plugin will now appear both under your Installed Plugins list as well as under a new tab created below called Google Analytics. Navigate to it and click on General Settings.
In order to establish the connection, you’ll need to give the plugin permission to do so. First, make sure you’re still logged into your Google Analytics account. Back in WordPress:
- Click on Authorize Plugin.
- Click on Get Access Code.
- When Google asks if you’ll allow it to access your data, click on Accept.
- You can then copy the access code provided and enter it back under General Settings for your Google Analytics plugin.
- Then Save Access Code.
You should now see your Tracking ID under General Settings. This code should match the tracking ID found in your Google Analytics account. It usually looks like this:
UA-XXXXXXXX-X
This means that your Google Analytics account is now up and running and ready to start recording activity from your WordPress site.
Step 6
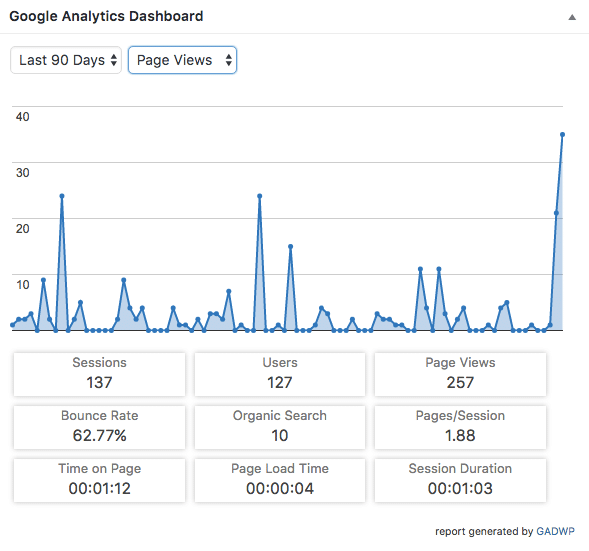
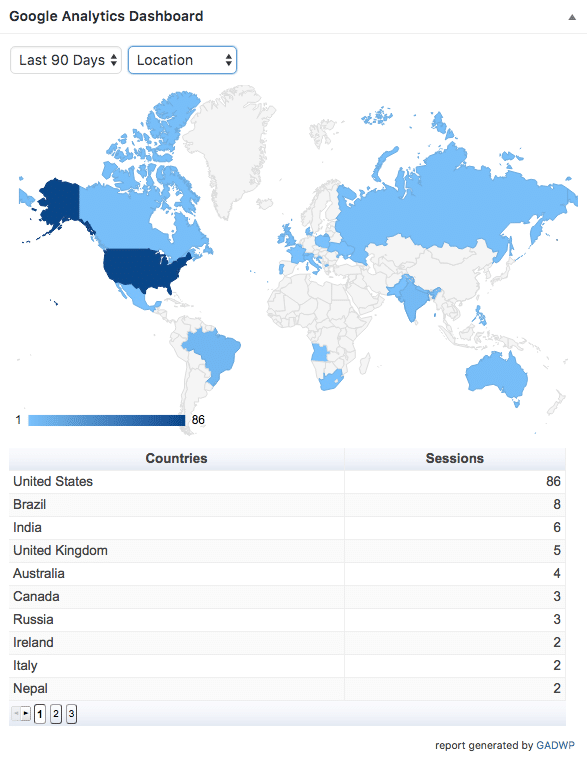
Want to confirm that Google Analytics was properly set up? Go to your WordPress Dashboard.
You should now see a Google Analytics Dashboard widget there. If it isn’t expanded, click on the down arrow in the top-right corner.
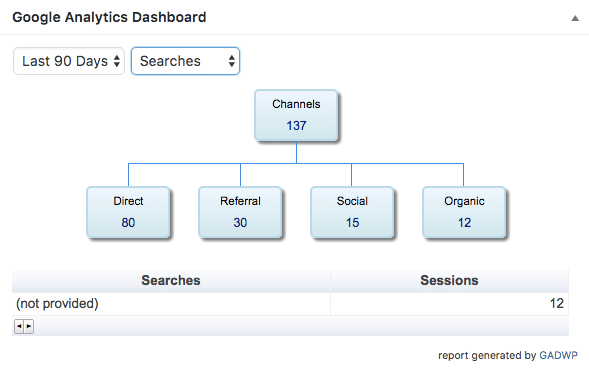
If this Google Analytics connection is brand new, you shouldn’t see any data yet. However, once your site does start receiving traffic, you’ll be able to track a whole slew of data. You can toggle the date range to display anything from real-time traffic all the way through three years’ worth of traffic.
You can also change the data set displayed in the chart. You can make it show things like:
Summary
Think of analytics like an employee; one who can see all, but who quietly works in the background to compile the data surrounding your website’s performance. You know you need this information, but don’t have the time to gather it yourself. That’s why a tool like Google Analytics is the standard-bearer of analytics tools. It takes all the work out of data gathering and gives it to you in an easy-to-follow format. Oh, and the best part of this analytical assistant? It’s free.
Nathan Oulman loves to ride contribute around the internet. When he is not contributing he trains a variety of monkeys he bought from his earnings from dailyhosting.net